Refreshing Homemade Rainbow Popsicles Recipe
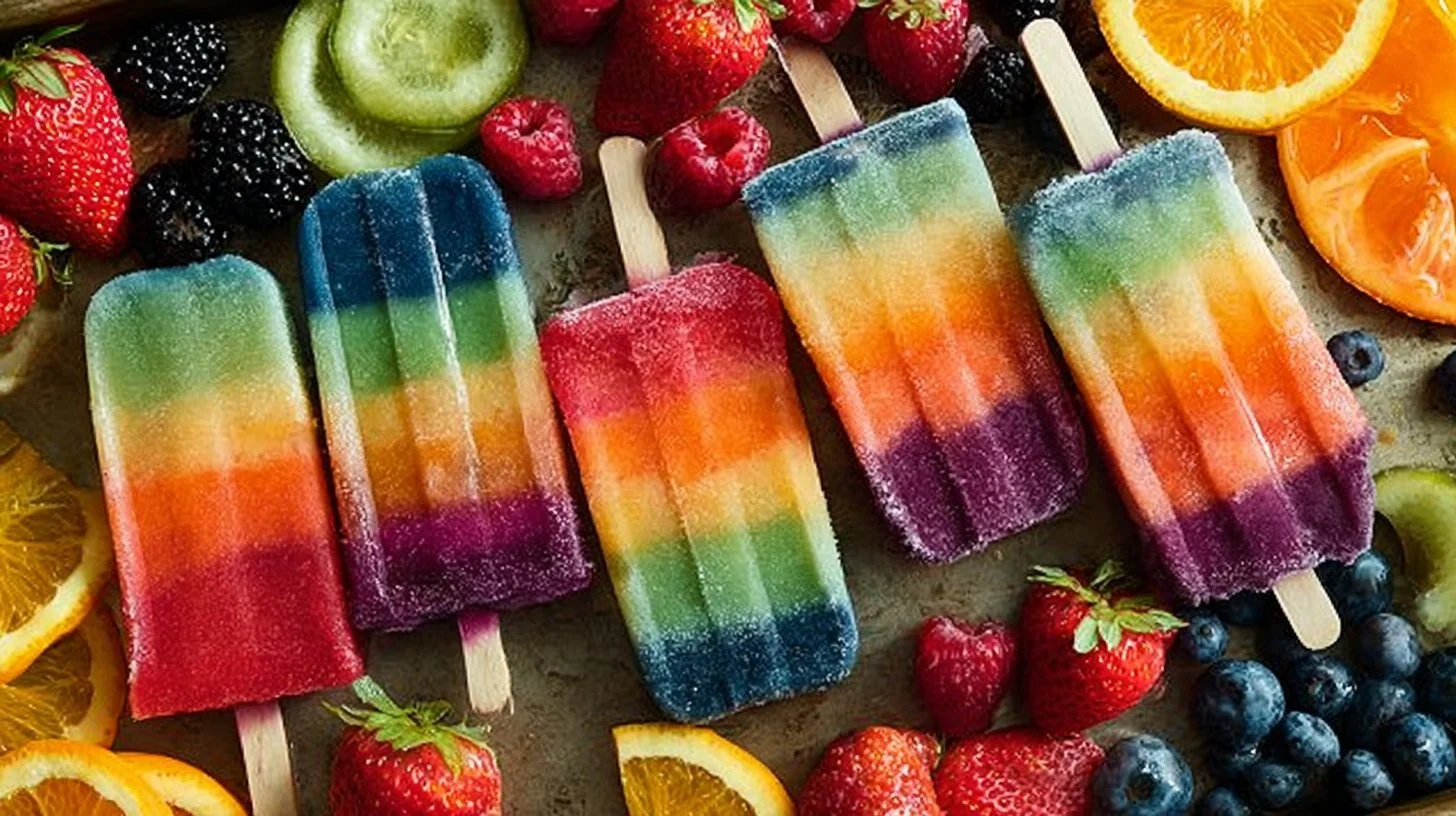
Popsicles are more than just a treat; they evoke memories of sunny days, laughter, and carefree moments. This particular recipe for Homemade Rainbow Popsicles captures the essence of summer in every colorful layer. Imagine sinking your teeth into a vibrant, fruity delight that not only cools you down but also packs a nutritious punch. Whether it’s a hot afternoon with the kids or an elegant dessert for a summer soirée, these popsicles offer both fun and flavor.
Why You’ll Love This Dish
Homemade Rainbow Popsicles are a delightful way to indulge your sweet tooth without the guilt. They are not only easy to make but are also a budget-friendly option compared to store-bought varieties, which can be packed with preservatives and added sugars. Here are some reasons you should whip up this recipe:
"These rainbow popsicles were a huge hit at our family gathering! Everyone loved the fresh fruit flavors and beautiful colors." – A satisfied home cook
This recipe is perfect for those warm weekends or as an engaging afternoon project with the kids. Each layer of fruit creates not only a captivating appearance but also a unique flavor experience.
Step-by-Step Overview
Creating these delightful popsicles is as fun as it is easy. You’ll follow a simple blending and freezing process that results in a frozen treat bursting with fruity goodness. Here’s a quick overview of what you’ll be doing:
- Blend your chosen fruits.
- Pour into molds, layer if desired.
- Freeze and enjoy!
Ingredients
To bring your rainbow popsicles to life, gather the following ingredients:
- 1 cup of mixed fresh or frozen fruit (like strawberries, blueberries, kiwi, or mango)
- 1 cup of coconut water or fruit juice (orange or apple juice works great)
- Sweetener to taste (honey or agave syrup, optional)
- Popsicle molds
Feel free to swap out ingredients. For instance, swap coconut water for yogurt for a creamier texture or use any fruit juice of your choice!
Directions to Follow
Making these popsicles is straightforward. Here’s how you can prepare them step by step:
- In a blender, combine the mixed fruit with coconut water or fruit juice until completely smooth. If you prefer a sweeter flavor, add honey or agave syrup to taste.
- Pour the fruit mixture into popsicle molds, filling them about one-third full.
- Place the molds in the freezer and allow the mixture to set for approximately 1 hour until slightly firm.
- If you wish to layer flavors, you can alternate different fruit mixtures or juices. Repeat the freezing process for each layer until the molds are full.
- Once fully frozen, run warm water over the outside of the molds to release the popsicles. Enjoy the colorful and refreshing treat!
Best Ways to Enjoy It
Homemade Rainbow Popsicles are best enjoyed on a warm day, perhaps paired with a picnic or alongside a fruit salad for a complete summer experience. Here are some creative serving ideas:
- Serve them on a platter, displaying the vibrant colors for an impressive presentation.
- Pair with a light lemon sorbet for an extra refreshing dessert.
- Garnish with mint leaves for a touch of elegance.
How to Store & Freeze
To keep your popsicles fresh, here’s how to store them effectively:
- Freezing: Keep them in the popsicle molds until you’re ready to eat. For longer storage, wrap each popsicle in plastic wrap and store them in a freezer-safe bag.
- Storage duration: They can last up to 2 months in the freezer. Always check for ice crystals as a sign of freezer burn.
Food Safety Note:
Ensure your fruits are washed thoroughly before blending, and when handling any frozen treats, use clean utensils to avoid contamination.
Helpful Cooking Tips
- For a richer flavor, freeze the popsicles in stages. Blend a mixture, freeze a bit, then add the next layer.
- If you want a more substantial sweetness, try fruit syrups or flavored yogurts for layering.
Creative Twists
Feel free to get creative with your flavor combinations! Here are some variations to consider:
- Tropical Delight: Use pineapple, coconut milk, and mango for a beachy vibe.
- Berry Blast: Layer strawberries, blueberries, and raspberries for a berry explosion.
- Green Smoothie Pops: Incorporate spinach or kale with your favorite fruits for a healthy twist.
FAQs
How long does it take to prepare these popsicles?
Prep time typically takes about 10-15 minutes, but remember to account for the freezing time of about 4-6 hours for the popsicles to be fully set.
Can I substitute coconut water?
Absolutely! Feel free to use any fruit juice or yogurt for a different flavor.
Are these popsicles safe for young children?
Yes! These homemade popsicles are made from fresh fruit and natural sweeteners, making them a healthy option for kids. Just be sure to check for any allergies they may have.
Now that you’re equipped with this delightful recipe and all the tips, go ahead and enjoy making your own colorful and refreshing Homemade Rainbow Popsicles! Your taste buds will thank you.
Print
Refreshing Homemade Rainbow Popsicles
- Total Time: 360 minutes
- Yield: 4 servings
- Diet: Vegan
Description
A colorful and fruity popsicle recipe perfect for warm days, packed with freshness and flavor.
Ingredients
- 1 cup of mixed fresh or frozen fruit (like strawberries, blueberries, kiwi, or mango)
- 1 cup of coconut water or fruit juice (orange or apple juice works great)
- Sweetener to taste (honey or agave syrup, optional)
- Popsicle molds
Instructions
- Combine the mixed fruit with coconut water or fruit juice in a blender until completely smooth. Add honey or agave syrup to taste if desired.
- Pour the fruit mixture into popsicle molds, filling them about one-third full.
- Place the molds in the freezer and allow them to set for approximately 60 minutes until slightly firm.
- Alternate with different fruit mixtures or juices for layering, repeating the freezing process for each layer until the molds are full.
- Run warm water over the outside of the molds to release the popsicles once fully frozen. Enjoy!
Notes
Feel free to swap coconut water for yogurt for a creamier texture or use any fruit juice of your choice. For longer storage, wrap each popsicle in plastic wrap and store them in a freezer-safe bag.
- Prep Time: 15 minutes
- Cook Time: 0 minutes
- Category: Dessert
- Method: Freezing
- Cuisine: American